The content in this guide is currently being revised to align with the new user interface. Some text and images may be outdated.
Manage Timesheet and Work Logs
On this guide, you can:
View Timesheet
On the timesheet screen you can view the number of yours logged per day per week. Tapping on a day shows all the work logged for the specific day grouped by objects.
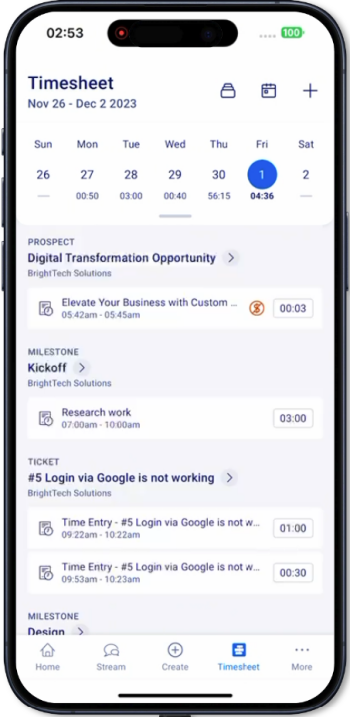
Each work log is shown with the work log subject, time start, time end, and total duration in hours and minutes.
On the Timesheet screen you can:
-
Tap on an object to get redirected to the View Object Screen.
-
Tap on the Work Log card to open the View Work Log Screen
-
Tap on the Expand button or flick the calendar downwards to show all the days of the month
-
Swipe left to right to navigate months
-
Tap on the Today button to jump to the current date on the calendar
-
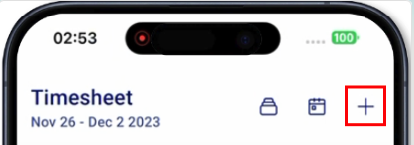
Tap on the + button to add a Work Log.
Create Work Log
-
To create a work log, you can do one of the following:
-
On the Timesheet screen, tap on the “+”
 On the Create Menu, tap on the Log Work button
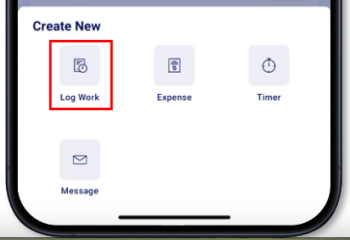
-
-
This will bring up the Create Work Log Screen
-
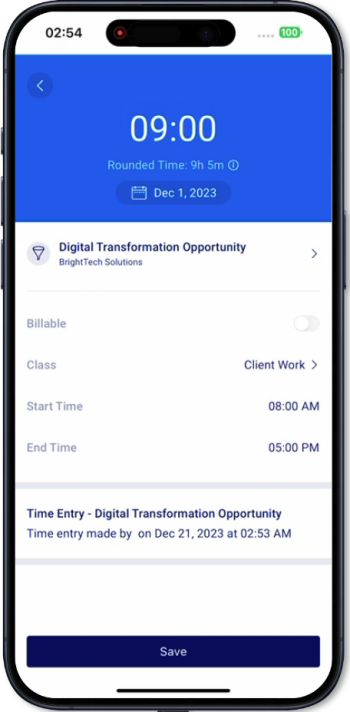
On the Create Work Log screen, enter the following details:
-
Duration = select the number of hours and minutes of the work done (is auto computed if the End time is adjusted)
-
Rounded Time = shows the number of hours and minutes that will be logged into the timesheet based on the deployment settings of the time rounding increment
-
-
Date = select the date that the work needs to be logged on to. By default, the current date is automatically selected.
-
Against Object = select the object that the work is being logged against with.
-
Company
-
Tasks
-
Sales
-
Tickets
-
Projects
-
Milestones
- Contacts
-
-
Billable toggle = tap to toggle the work log as billable or not. (only available to objects that are billable)
-
Class = tap to select the class. If none is selected, then the default class is selected.
-
Start Time = select the time that the work has started in hours and minutes. By default, selects the current time
-
End Time = select the time that the work has ended in hours and minutes. By default, is automatically calculated based on the start time and duration.
-
Subject = enter the subject of the work log. By default, is automatically filled with Time Entry: Object title, Date start to end, and Start Time
-
Description (Optional) = enter the description of the work log. By default, is automatically filled with Time Entry: Object title, Date start to end, and Start Time
-
Tap on the Save button to submit the work log.
-
Once submitted, the work log appears on the corresponding date on the timesheet.
Not yet supported
-
Selecting a task status
-
Selecting or editing the task remaining time
-
Selecting the hours from the saved timers
-
Rich-text formatting on the work log description
- Log Against:
- Retainer Periods
- Assets
- Retainers
- Expenses
- Invoices