The content in this guide is currently being revised to align with the new user interface. Some text and images may be outdated.
Create a New Sale
Keep track of all of the deals in your pipeline and stay on top of your sales efforts by quickly adding new sales with the click of a button. You can also streamline your process and cut down on unnecessary administrative work for your Sales Team by creating automation.
Using this guide, you can:
Create a New Sale
There are two ways to create a new sale:
-
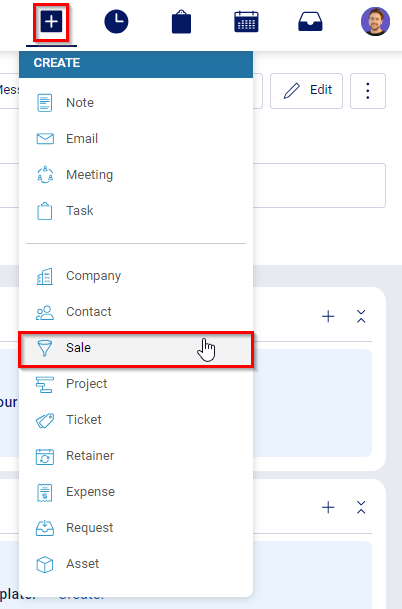
From the the + Create button in the Navigation Bar.

-
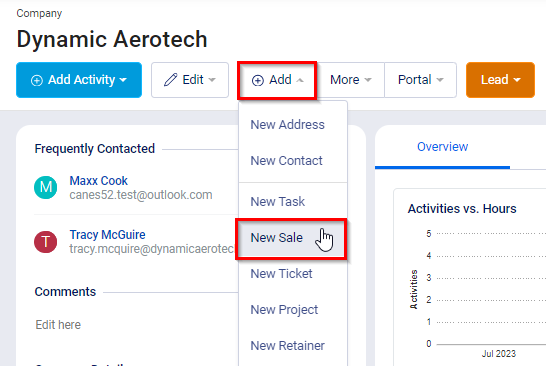
From the Company or Contact page, click the +Add button on the Client Menu bar and choose New Sale.

Field options when adding a new Sale:
-
Title: A summary of the Sale, such as "Distribution Lead" or "Looking to update their website".
- Company: Company the Sale will go against. Company name auto fills when creating from the Company page.
-
Contact: Company’s main point of contact on the Sale.
-
Salesperson: Select the staff member who will be responsible for this Sale.
-
Sales Type: The Type field will be presented if your account has been configured with additional Sales Types. These Types allow you to more precisely define your various Sales processes along with all of the data points and processes that go with them. When creating a Sale, the Type can be used to determine which of these processes this specific opportunity should follow.
-
Progression: Where in the process your Sale should begin. Read more about Progressions here.
- Value: How much the Sale is worth
- Probability: How Likely are you to close this Sale .
- Comments: Record any brief notes you might have regarding this opportunity.
-
Created: When this Sale was first identified. This field is great for entering opportunities retroactively.
-
Due: When you expect the Sale to close by.

After you fill in the required fields, press the Create Sale button to begin tracking all of your time, notes, progress and correspondence. More information on managing your Sales can be found on the View a Sale page.