The content in this guide is currently being revised to align with the new user interface. Some text and images may be outdated.
Activity Classes
Group together related work in a customized field created specifically for your Activities. Classes help you categorize your activities for better reporting, dividing them by classes like internal work, research, on-site work, and more.
Using these guides, you can:
What are Classes?
A Class is a Custom Field created specifically for your Activities. As you may have noticed, Custom Fields aren’t possible to build into Activities. Use classes if you wish to customize what information you tag to make reporting easier.
When you add an activity, press the Class button on the bottom of the window to show Class options:

The default values are:
-
Client Work - Any activities related to client projects, issues etc.
-
Sales - Indicate this work is related to sales or account management.
-
Internal - Indicate that an activity (and the time spent) went towards improving business processes or business administration activities.
Easily search your activities by class, as well as other attributes, such as activity hours, created date or owner using our filters, or exporting them to a spreadsheet.
Note: Staff email activities that were created via your Accelo's email integration feature will only have an Activity Class set if there is a parent activity with its class set (ie, the previous email/note came from Accelo).
Configure Activity Classes
By default, these Activity Classes are associated with every record type in Accelo.
Configure Activity Classes to shape Accelo to match just what your business needs. For example, you might want to disable the "Client Work" class when staff add an activity against a sale record.
To configure activity classes:
-
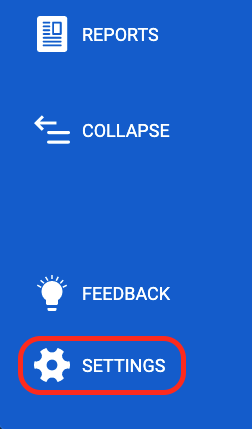
Click on the Settings button at the bottom of the left-hand side menu.

-
Select Activities & Emails and then Activity Classes.

-
See your new list of the available activity classes.
-
Click Add Class to setup a new class.

-
Enter the name/title of the class, select a parent class (purely for grouping purposes), and then tick the types of record which this class can be associated with.
-
Delete a Class by clicking the Recycle Bin button on the same line.

- Add a Child Class by clicking the + button on the same line.

Activity Class Order
When adding an activity against a Ticket, you might like "Client Work" to be the default class, but for a new Sales Opportunity you might prefer "Sales".
To choose the default option for each type of record, you need to Re-order the classes you setup under each Module.
To configure the order for Class:
-
Click the object icon referring to each type of record.

-
Click and drag the blue pin icon on the left next to each class to change the order. Changes are automatically saved.
-
Click Cancel to return to the activity class list when finished.
